Showing posts with label max factor. Show all posts

Sunday, 1 February 2015

An alternative to the Hourglass Ambient Lighting blushes?


Ever since laying my eyes on the ambient lighting blushes from Hourglass it has been hard to keep them off my mind. Baked blushes have always intrigued me yet I was sceptical of spending nearly £30 on something that I may not even like. Don't get me wrong the raving reviews on the Hourglass blushes suggest that I wouldn't be disappointed but I am always willing to try a drugstore alternative.
I discovered that Max Factor had brought out their own versions of a baked blush through another beauty blog and I knew instantly that the next time I visited Boots I would be buying one of these blushes.
Similarly to the Hourglass blushes, these Max Factor blushes are gorgeous just to look at in the pan. The shade I chose is '05 Lovely Pink' and is a mixture of pink and golden tones which also features some shimmer. I think it is this shimmer which gives a highlighting effect when applied to the cheeks as well as a healthy flush of colour from the shade itself. What I love about this blush in particular is that it is so buildable. I love the way that it can be used to add a subtle highlight and flush but I can also see how it could be easily built up to give a stronger look. At first I wasn't sure about the shimmer but it really does give your skin that extra glow without making you look obviously glittery or sparkly. The  formulation of this product is also great as it doesn't feel heavy or chalky on the skin. I find that my Real Techniques blush brush picks up exactly the right amount of product and it applies so well to the cheeks.
Another bonus of this product for me is the no-nonsense packaging. I love the very simple round compact and the fact that the clear lid showcases those beautiful shades. I also like that Max Factor haven't fussed around trying to squeeze a mirror in and has focused entirely on the product itself. Although these blushes are relatively small, I have been religiously using them every day for around a month now and it doesn't even look like I've touched the product aside from the fact that admittedly you can see where my brush has been swirling around the pan.
If anyone I knew was looking for a new blush I would steer them immediately in this direction. There are so many shade variations in this range and the product itself is fantastic. At only £8.99 they are considerably cheaper than the Hourglass blushes and will be a firm favourite of mine as we move into the Spring months. 

Monday, 21 April 2014

Max Factor 'The Face' Review

 
So whilst I was shopping a few months ago Max Factor were giving away a free gift when you spent over £15 on makeup. Around the time the winner of the TV show 'The Face' had just been announced and so the gift was tied in with that. As I was running low on both foundation and powder I easily spent £15 and was quite intrigued to see what was inside and to test out the products.
Inside the box were three of Max Factor's products as well as a few leaflet tutorials to bulk out the rest of the gift. The products were one of the relatively new 'lipfinity' lip products, a false lash effect mascara and a nail polish.
 
The first product that I decided to test out would be the  lipfinity lip colour in the shade 340 Essential Natural, which to be honest hadn't appealed to me before. The product itself consists of two parts, the colour for the lips and then a clear topcoat which is very similar to a balm. The reason why this product had not appealed to me before is because I am not the biggest fan of lipgloss, I much prefer a lipstick or balms.
  However, I decided to give this a go and one of the best things about this product is the packaging. I love the way that they are very sleek and sophisticated and I think the classic colours and combinations make them look luxurious. Although the concept of having two parts to this product may be good, I find that it is a bit unnecessary to have two tubes, where other brands have managed to fit them into one, such as the Rimmel 1000 Kisses lip stains.
  Having two tubes is such a hassle if you throw away the original box because you have to make sure you remember both of them and there is no way you can make sure they stay together.
  Inside the coloured part of the product is a lip gloss with a doe foot applicator which makes application really easy although it would be quite difficult to use one of your own brushes to apply. I've also found that for all the packaging there isn't much product inside. With these retailing at £8.99 it is quite a substantial amount to pay for a product of this type. I can think of some more affordable and quite simply better products than these so I'm not sure I would actually buy these.
  Still focusing on the colour, the shade that I received within the gift is a beautiful pink/nude with the slightest bit of shimmer in it. The idea is to apply this first to your lips and then follow up with the clear balm. Although I really love the colour, I'm not so sure on the formulation. I found this to be really sticky and just doesn't feel luxurious or nice at all. In addition, I've found that it takes a long time to get dry enough to apply the next stage and just having your lips stick together is really not what I expected or wanted. Even when the colour is dry it still has the same feeling. However, the colour does dry to a beautiful matte shade and if the formulation was better I think you would be able to wear this without the balm. It also has no scent to it, which means that if you are not a fan of perfumed products, this might be an advantage to you.
  The balm itself is very simple, in that it is identical to most bog-standard clear balms. You simply apply this on top of the colour and it rehydrates your lips and gets rid of the awful sticky sensation. Admittedly the finished result looks good and the colour is lovely, but the hassle of using two different products and the terrible formulation means that unfortunately I am not a fan, especially because of the price you would pay for one of these. The product itself does last a reasonable amount of time, but yet again if you want to touch this up you have to go through the whole process again with the colour followed by the balm.


The next product in the set was a nail polish from Max Factor's glossfinity range. These nail polishes retail for £5.99, which is slightly more expensive than their drugstore competitors such as Barry M and Rimmel. This particular shade is called cobalt blue and as the name suggests is a dark, almost navy blue. I haven't actually tried this product out properly yet, but from my first impressions I think it is a beautiful shade, which I'm guessing would need a couple of coats and if it lasts for up to 7 days as the packaging suggests surely it has to be a winner. There are so many colours to choose from in this range and I love the simple packaging with the gold text and black lid, which ties in with the colours of the previous product and keeps the product looking luxurious and sleek.

 
The final product in the gift set was one of Max Factor's mascaras. Immediately I was really excited to try this out because mascara is one product that I find I experiment more with, and I was interested to see if I liked this more than my current favourite mascara, the Maybelline Falsies.
   Again Max Factor has put a lot of effort into making the packaging simple yet sophisticated and the tube is actually quite big, so it seems as though you are getting a lot of product. This retails at £10.99, which is a little more expensive than other drugstore mascaras but not excessively. One thing I noticed about this mascara is that it is waterproof, which may explain the price but was also an added bonus because I don't think I've ever tried one of Max Factor's waterproof mascaras. I then also realised that was the shade black/brown, which is something completely different to what I would usually buy. Usually I would try and find the blackest shade a brand sells and so I didn't really know what to expect.
  However, I did find that when I tried out this product I couldn't see a huge difference between a black shade and this one. I think it definitely made my makeup less dramatic, but it still made my lashes look defined and slightly longer, albeit not as much as my regular mascara. I'm not sure if I would voluntarily buy another brown shade purely because I prefer the effect a black mascara has, especially because my eyelashes are quite dark anyway.
I was really impressed that the product wasn't clumpy either and the huge brush made sure that I was covering each of my lashes. I did find it was a little more difficult to apply to my lower lashes though, but I did find that I only needed to apply one coat of this.

Perhaps the one thing that disappoints me with this product is the removal. I knew because it was a waterproof product taking it off at the end of the day may not be the easiest, but even after using make-up wipes that claimed to remove waterproof makeup there was still a lot of product on my eyes. I then used my cleanser and a cotton pad to try and remove as much as a could and still found I couldn't remove it all as I found out the next morning when it was all around my eyes. The hassle of taking this product off proved too much for me and so for this reason I probably won't be repurchasing this and even though the black brown shade was something different and the product itself isn't bad at all, I still think there are other drugstore mascaras which are better.
 It has been a real eye-opener to try out some new products from a brand that I love for their foundations and powders, but unfortunately I have not fallen in love with any of these products to the extent that I would go out and buy more of them. Probably the most disappointing was the lipfinity glosses because purely on first impressions and seeing the box I thought it would be a product that would become a summer staple for me. However, the search will continue and I am excited about trying some new products out soon.

Sunday, 10 November 2013

Face Of The Day: Alternative Makeup


Over the past few weeks I've been a bit more adventurous and experimental with my makeup. I thought I would share with you how I achieved this look.


These are all the products that I used to create this look, and although some are the same as my typical look, I've been trying to use the different products which are in my collection and rotate what I use.


Firstly I start off with my favourite foundation, the Colour Adapt in Natural from Max Factor. Once I find a foundation I love, I find it hard to persuade myself to try out new stuff just in case it isn't as good as my current one. I apply this to my face with a foundation brush, making sure it is fully blended.


I've noticed that the flash I used whilst taking these photos has made my face really pale. Anyway, this is my face once the foundation has been applied and blended.


Next I use the Helen E concealer, the yellow side of the compact, and apply this underneath my eyes to conceal any dark circles. If I have any big blemishes I also use the brown side to cover these up and then I set my base by using the Max Factor Creme Puff powder in translucent. 

My face after the concealer and powder stages


I featured this palette in my 'What's in my makeup bag?' post and explained that I had got this from the Clothes Show Live a few years ago. I don't actually think you can buy this anymore which is a shame because I have loved using the blush and bronzer from this palette. 


When I am applying the bronzer and blusher from this palette I usually take a blush brush and mix the two colours together on the brush. I then apply this to the apples of my cheeks as well as in the hollows of my cheeks very slightly. This product is quite shimmery so is different from my Sleek products, and isn't as pigmented but still gives a nice glow to your skin.

Face after the bronzer/blusher


Similarly to my typical makeup look, I use this eyeshadow quad to fill in my eyebrows and to apply some eyeshadow to my lids. I have no idea where this quad came from but it is so lovely and I will definitely miss it when it runs out.
  I start my using a small brush (shown above) to fill in my brows using the dark brown shade in the bottom right of the quad. To then define my brow bone, using the other brush I use the top left shade and apply it just below the brow. Finally using the shading brush I take the top right colour and apply this all over my lids.  

Filled in brows and eyeshadow applied


My go-to pencil liner at the moment is this little beauty from Max Factor. I am getting near the end of this product so will either have to go back to my other liners or purchase a new one soon. Anyway, I take this kohl pencil in black and use it to line my waterline as shown below.

Face after pencil liner

Now usually if this was my typical look I would use liquid liner to line my lash line, but for this look I do it a bit different. Instead of liquid liner I take the same kohl pencil and carefully line my lash line. I then take this shading brush made by Model's Own and carefully, without poking myself in the eye, blend the liner.
  It creates a softer line across the lashline and also blends nicely with my eyeshadow to create a different look. Sometimes if I've applied too much kohl I will just get the eyeshadow out again and apply some more to lighten up the look. 

Face after blending

To finish off the eyes I reach for my favourite mascara, Falsies by Maybelline and apply a couple of coats to both my top and bottom lashes. 
Eyes finished

For the lips I decided to go for something quite bright and fresh to finish the look. After wearing the Kate Moss for Rimmel lipsticks a lot recently I decided to go back and use this beautiful pink shade from The Body Shop. It is shade 57 and called 'Pink Flirt' and as suggested by the name it is a lovely pinky shade. What I love most about this lipstick is that you can build up the colour depending on how bright you want it to be. 


Finished look

As the lipstick is really hydrating I don't add lipgloss to this look. After this stage, the look is finished. This usually takes me about 10-15 minutes to do completely and I what I also love about this look is that it doesn't take as much effort to remove as the kohl pencil liner comes off much easier than liquid liner. 


Wednesday, 30 October 2013

Get Ready With Me: A Typical Everyday Look


If you are like me and wear makeup almost everyday, you soon get into a routine and find that you have a 'typical' or 'trademark' makeup look which you go to regularly. Today I thought that I'd go through my typical everyday look and show how it is achieved. From start to finish, it usually takes me around 40 minutes to get ready, although I do speed it up and can get the process down to about 20 minutes if I'm in a hurry. I can also drag this process out, and usually do if I am going on a night out because I don't like to feel rushed when getting ready.


So to start with I firstly shower and wash my hair. Currently I am using the orange and satsuma shower gel from Superdrug's own brand to wash myself which is really refreshing and awakening and I am using the TRESemme platinum strength shampoo and conditioner which I've found to have improved my hair since I started using it. 


After my shower I then brush my teeth with my pink oral-b toothbrush and the colgate cavity protection toothpaste. I'm not really that fussy when it comes to toothpaste and so I just use whatever is in the bathroom at the time. 


Once I've brushed my teeth I then go back into my bedroom and towel dry my hair. Once I have got rid of all the excess water I tie my hair up in a loose bun to keep it out of my face. I then start the base of my makeup, including foundation, concealer and blusher, bronzer, eyeshadow and my eyebrows. As I have a side fringe it's much easier to do these stages before I dry my hair but I can't do my full eye makeup as I find my eyes run whilst I am drying my hair. 
   To start off my makeup I apply the Max Factor Colour Adapt foundation in natural using a foundation brush, making sure that I blend it all in evenly. I then apply the Helen E concealer (yellow side) to underneath my eyes to cover up any dark circles. If I have any particularly noticeable blemishes or spots I use the brown side of the compact to cover these up. 

My face after applying the foundation and concealer 


The next stage in my daily routine is to apply a face powder before contouring and applying blusher. For the powder I am currently using the Max Factor Creme Puff powder in translucent and I use this to simply set my base and not to add too much colour to my face. Then I use the sleek contour kit in light to subtly contour my cheekbones using the powder and highlighter. I don't contour my nose because I don't feel the need to, although Sleek does show you how to do this as well.
  I finish off my face by applying the Sleek blush in Flamingo to the apple of my cheeks. This stuff is really highly pigmented so I don't have to put much on my blush brush. I also don't apply too much because I want to keep my look natural and not too over the top.  

My face after foundation, concealer, powder, contouring and blusher

The next stage in my makeup is to fill in my eyebrows and apply some eyeshadow to my lids. My eyebrows are already quite thick and are shaped on a regular basis so I just use a thin brush to fill in any gaps and make them appear a bit stronger.
  The second brush I use is a shading brush from Models Own and I use this to sweep some eyeshadow onto my lids, as I only usually apply one colour in an everyday look. 


I have no idea what brand or where this quad came from, but I love the neutral colours in it. When this runs out I will have to try and find similar shades because I am loving using this at the moment. I use the bottom right colour which is a dark brown for my brows and then use the top right to shade my lids. 

My face with the finished base along with filled brows and eyeshadow

I then move away from my makeup and focus on drying and sorting out my hair. I leave the rest of my eye makeup until afterwards as my eyes have a tendency to run. I start my hair routine by brushing through it with my tangle teezer brush and apply a heat protective spray. I then use a hairdryer to blow dry my hair, making sure I also get my parten in the correct place. 


Once my hair is dry I usually just brush through it once more using my tangle teezer brush and then leave it. Over the past few months I've cut down on the use of my straighteners and I've noticed that my hair is in a much better condition. 


Once my hair is complete I then move back to finish off my makeup. I firstly line my lower waterline with the Max Factor Kohl pencil in black.

My face after applying the Max Factor Kohl pencil in black
Once I've applied the pencil eyeliner to the bottom of my eyes, I take the Rimmel Glameyes liquid liner and use this to line my eyelids, as close to the lashline as possible. I then use a small amount and go over the pencil liner that I had done previously, which just makes it last that little bit longer. I usually do a small flick at the outer corner of my lashes to create the cat-eye effect and the size of this usually varies day to day. 

My face after pencil and liquid liner

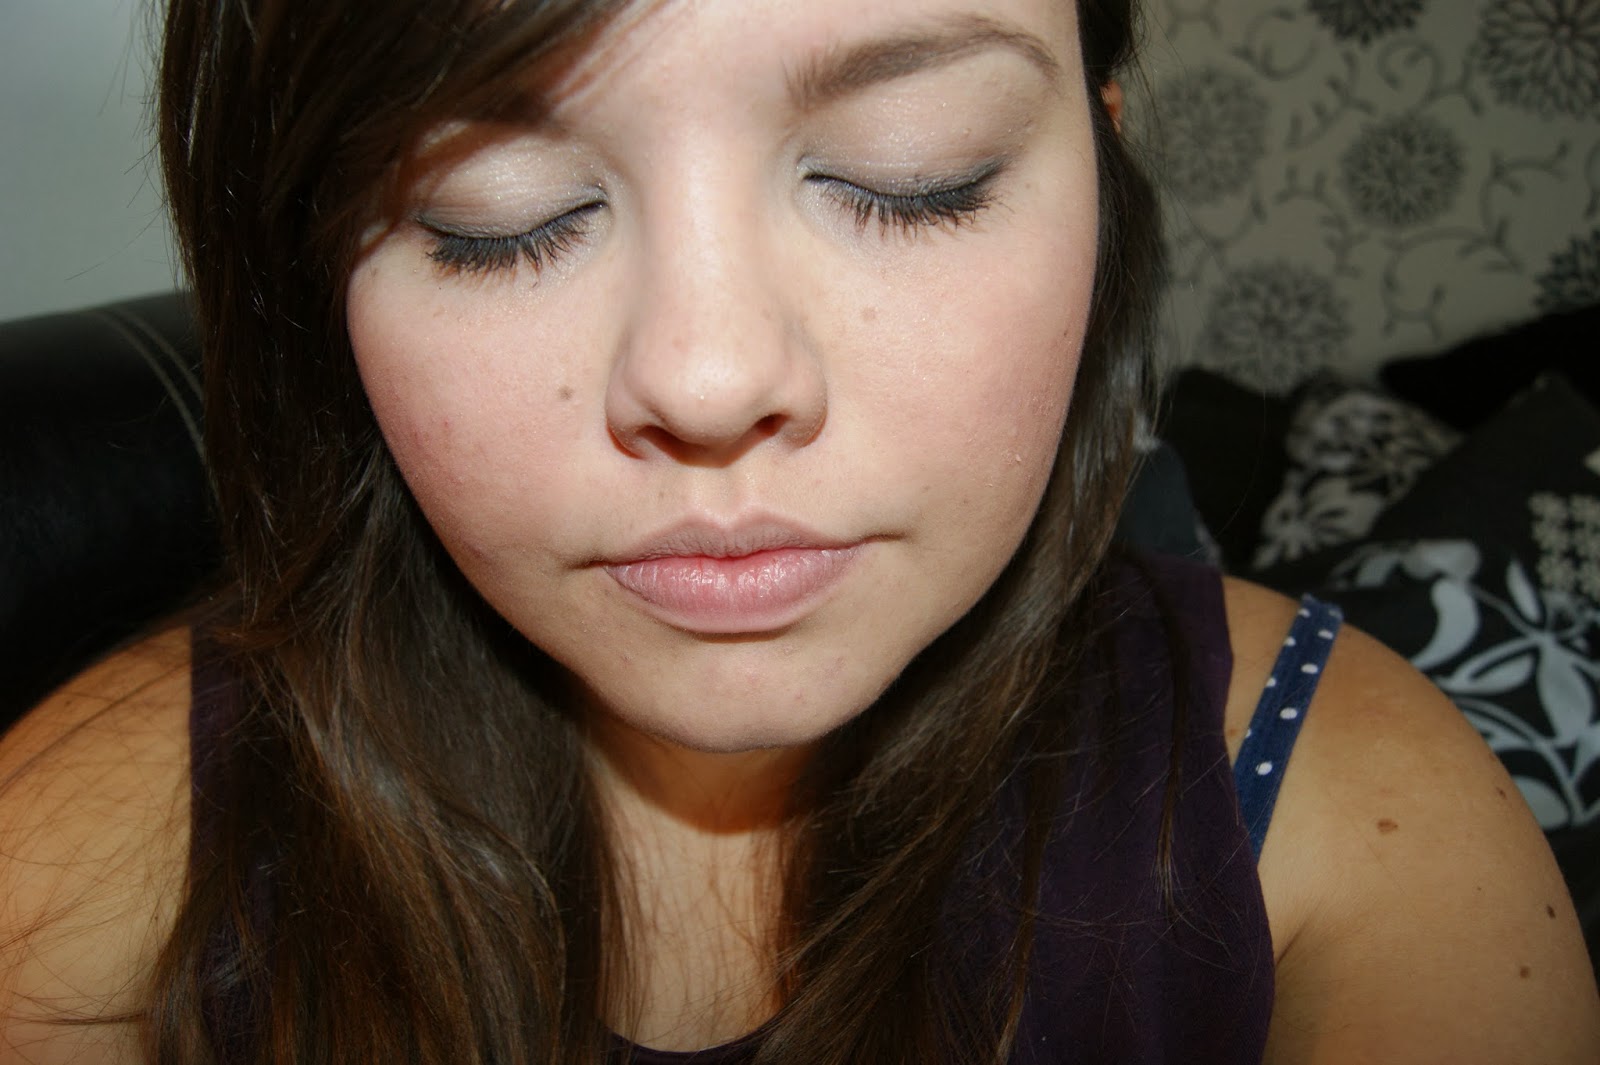
I finish off my eyes using the Maybelline Falsies mascara in black drama and usually apply a couple of coats to my top lashes. I also find the brush is easy to use for the bottom lashes as well so I apply just one coat here. I find mascara really finishes off the look and opens the eyes up. 


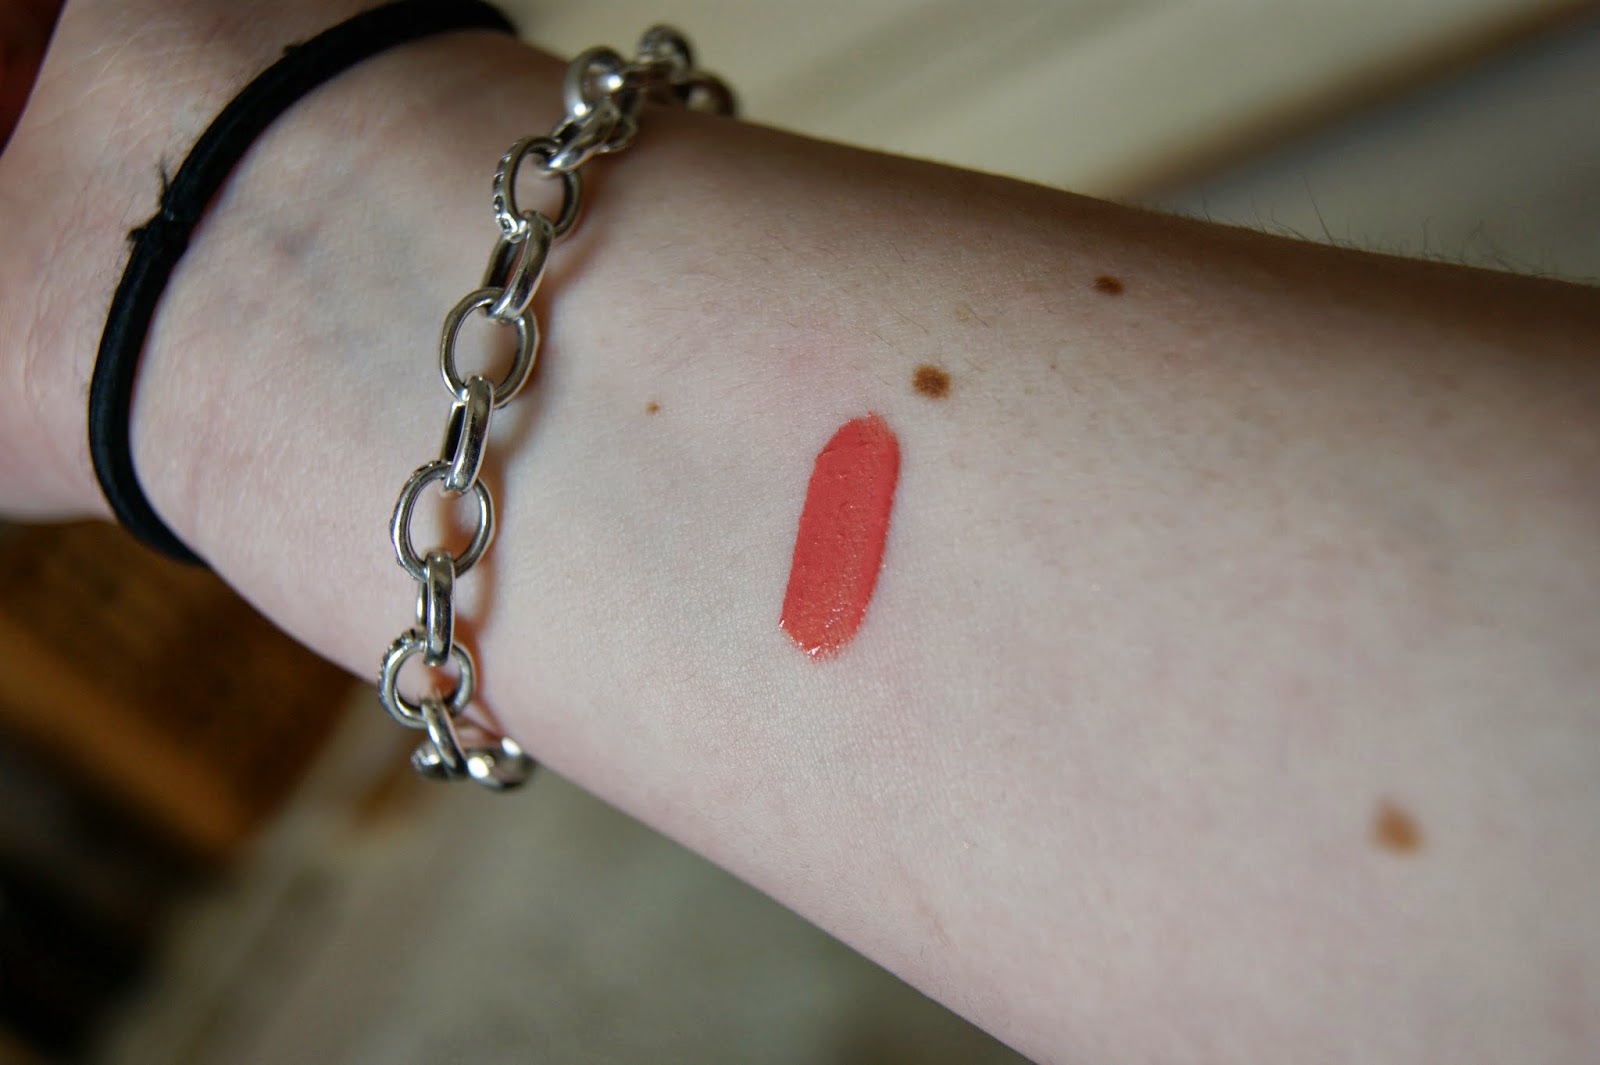
Finally, the last stage in my makeup is to apply a lip product. Usually during the day I like to go for a natural looking shade which isn't too bright. I've recently brought some lipsticks from the Kate Moss for Rimmel collection and so I've been wearing these alot. My favourite at the moment is the shade 08, which is a pinky colour and I think perfect for autumn. They are really hydrating as well so I don't feel the need to apply lipgloss over the top. 

Kate Moss for Rimmel lipstick in 08
The finished look

Once I have finished my hair and makeup I then get changed into the outfit that I will be wearing during that day. This way I know I won't accidentally get makeup on me. This is my typical look and although it can take about 40 minutes to complete, I don't think that it is too extensive. I personally really like this makeup look, but over the past few weeks I have been trying to experiment with different looks as well.